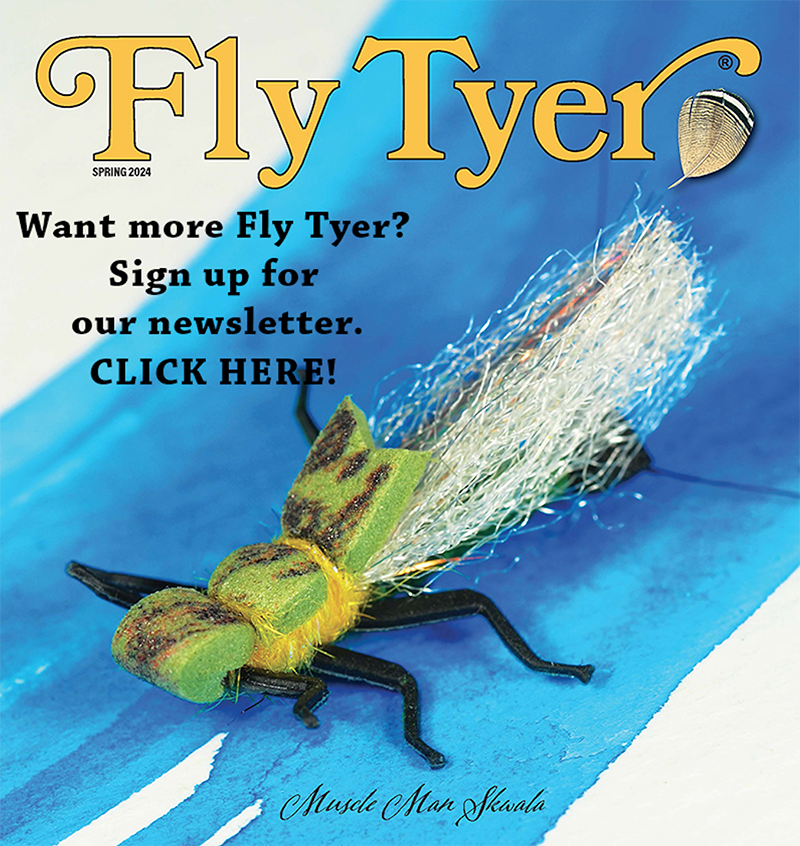
There’s nothing quite so enjoyable as constructing a nice bass bug. This frog is fun to make, and the fish love it, too.
[by Fredrick Hannie]
Frog flies have been tied and sold commercially for more than 100 years. Some of the earliest references for these patterns date from the 1890s, and the most recognized frog poppers were produced in the 1920s. Although they were crude by today’s standards, they were a mainstay for many early warmwater fly fishermen.
A lot has changed in the world of fly fishing in the last century. Materials are now manufactured specifically for tying flies, and synthetic ingredients have opened up the color palette. However, you still can’t find preformed frog bodies. I also don’t believe there is a molded eye that looks correct on a frog pattern; most eyes have round or oval pupils to match baitfish eyes. I might not be able to mass-produce foam frog bodies and eyes, but I thought I might be able to make enough for myself.
The first stop involved a trip to my local fly shop. I combed through the aisles of cork, balsa, and foam, and returned home with an ample amount of samples. I quickly realized that foam is the most forgiving material to use. The foam cylinders were about 1 inch long and 1 inch in diameter, and resemble large marshmallows. They are easy to shape with a grinding stone and high-speed hand-held drill such as a Dremel Moto-Tool, and they are easy to color using permanent markers.
HANNIE’S BULLY
Hook: Stinger basshook, size 1/0 .
Thread: White Danville, 6/0.
Body: Foam cylinder.
Legs: Olive Spanfl ex, 25-pound- test monofi lament.
Eyes: 3-D, size 3 / 3 16 inch.
Markers: Copic brand,YG03, Y35, E57, E09, YG97.
Epoxy: 30-minute (any brand)
My first frog sliders were ugly but effective. The heads looked kind of reptilian or froglike, and they had saddle-hackle feather hind legs and rubber front arms; maybe the legs enticed the bass and the foam body was only the vessel that carried them. In any case, the fish vindicated my efforts, and I continued tying and fishing this pattern. The fly continued evolving, and over time the rubber legs and hackle feathers gave way to Spanflex and monofilament. The shape of the body is now more aerodynamic, and the eyes look as if they might really belong to a frog.
I pattern the fly after a bullfrog because they are abundant where I fish. When shaping the foam, it is helpful to keep an image of the finished fly or a bullfrog in your mind. Shape the foam slowly; remember, you can’t replace the material after it is removed from the body.
Starting Hannie’s Bully
Make the legs using an adjustable bobbin. Tying on monofilament requires the lightest thread tension. If you have a simple, old-fashioned type of bobbin, simply spread the arms that grasp the spool to reduce the tension. Also, don’t leave an excessive length of thread out of the bobbin. Keep your thread short and make small wraps.
Coloring the frog is my favorite part. You can use natural frog colors, color combinations that work on other flies, or colors you see on bass lures. I color some frogs fire tiger, and they work great. Use your imagination and have fun. Use any brand of marker to test its reaction to the epoxy coating; some markers are alcohol based and will run with the epoxy. I used Copic Sketch markers in this article; they come in a wide assortment of colors, and each marker has both a fine and broad tip.
Coloring the Body
Creating Legs & Finishing the Fly
After assembling the fly, coat the body with a layer of epoxy. I prefer using 30-minute epoxy because it doesn’t yellow as much as the instant and five-minute epoxies, and I have ample working time to coat a few flies with each batch. A drying wheel prevents the epoxy from sagging and is a good investment if you intend to make more than just an occasional popper.
Maybe one day we will be able to buy preformed frog bodies. Until then, I’ll keep making my own.
Fred Hannie is a talented fly tier and bass-bug maker who lives in Texas.


