Complete Protection
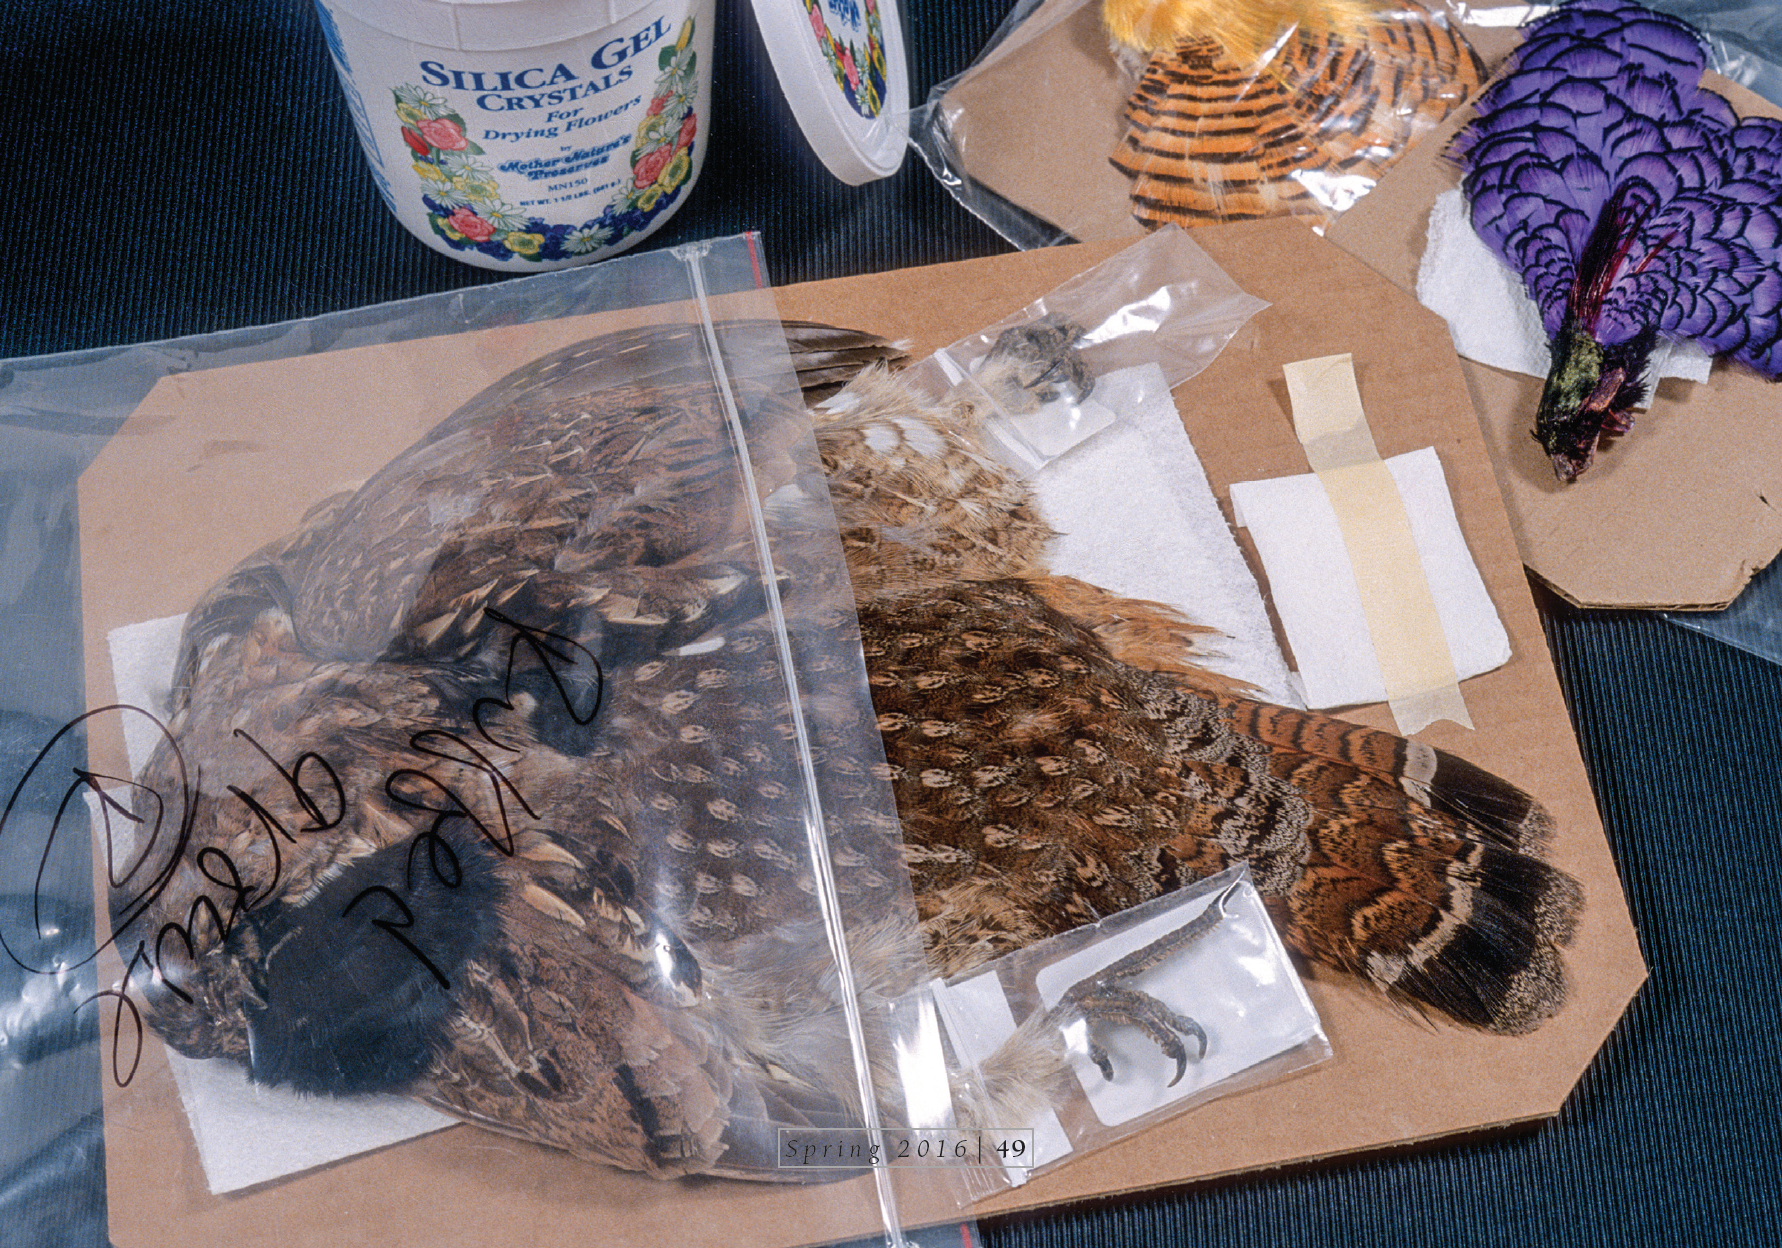
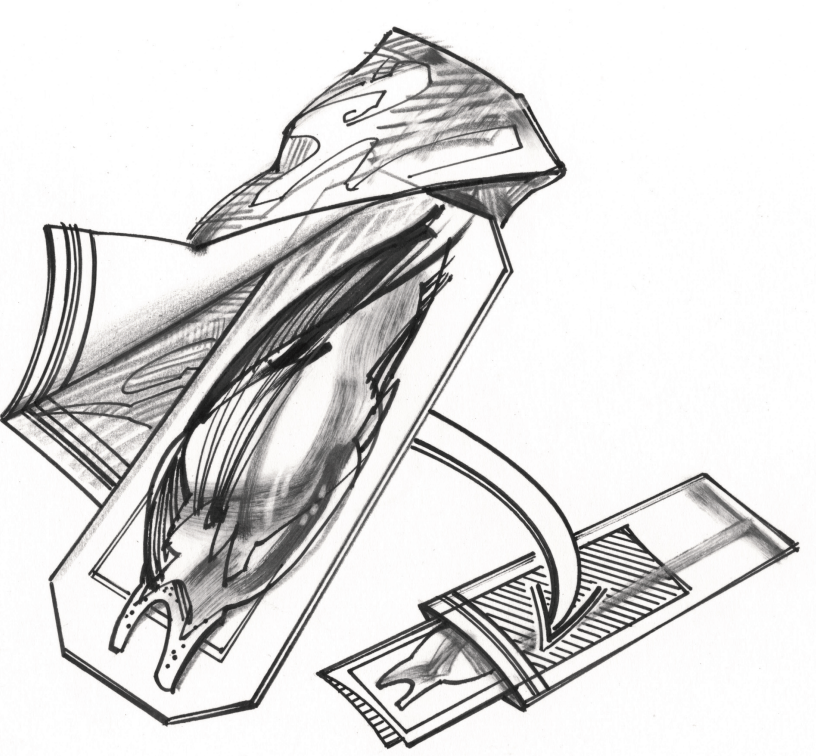
Let me show you how I pack materials. First, place the material—in this case, a grouse skin—on cardboard. Note that I clipped the corners of the cardboard so it is easy to slide in and out of the bag. Paper toweling, changed occasionally, absorbs any oils from the skin. The wings with incisions in their muscle mass also have toweling placed between the cuts and body feathers. And don’t forget that feet become sticky and soil feathers, too; discard or isolate them from the rest of the bird. If mildew is a concern, purchase a box of flower-drying crystals (silica gel) at a craft store. It’s the same stuff found in the little packets in shipping cartons used for electronics. Make your own packets out of toweling and tape. I taped a packet of silica gel to the cardboard.
Maximizing Storage Space
For maximum efficiency, think about how you organize your fly tying tubs. Consider which tubs you dive into the most, how easy they are to access, and the size or the amount of material you place in each tub.
• I place big tubs on the bottom of the stack. These contain large or rarely used materials, such as my peacock skin, or other oversized stuff like chunks of deer, elk, and moose hides. I cut the latter into smaller manageable pieces, and place a few in my basic kit for everyday use. I split large bird skins lengthwise down the middle. I also remove the wings and tail feathers, and store them separately. This process allows me to efficiently utilize space in each tub.
• Domestic hen and ring-necked pheasant skins— I have a lot of these—have their own tub. Most skins, however, are stored by general type in communal tubs: ducks, grouse, other pheasants, and so on. The same holds true for fur-bearing animals. Where these tubs are in the stack depends upon how often I need them. The exotic-pheasants tub, for instance, is on the bottom, while grouse and partridge are at the top.
• I keep many of the materials I use most often in specific small tubs. Various types of necks, fur, or hair patches, and some unique items such as porcupine quills or golden pheasant crests, have their own containers. The nice thing about small tubs is that you can move quite a few at once when you’re after something in the bigger tubs. They also allow you to utilize awkward closet space and corners.
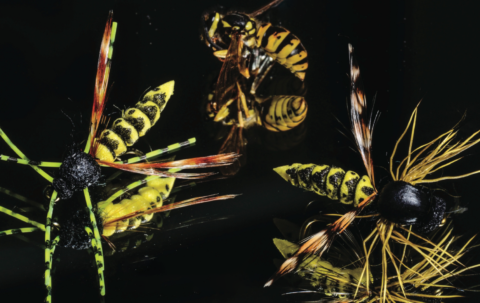
• Store a few types of materials, like loose tail feathers, wing quills, and body feathers, in communal tubs. Within each tub, separate the feathers of common species in resealable bags.
• Labeling your tubs is important. Label all the sides and lids so that regardless of how they’re strewn about in your tying area, you can instantly identify their contents. The labels must be large and easy to read. Brightly colored pieces of paper attached with clear packing tape are perfect, and they can be removed.
Archival Storage Products for Your Fine Materials
Most paper products have residual acid from the manufacturing process that breaks down wood into pulp. Over time, these acids can attack and weaken other materials they come into contact with. Tape adhesives can also ruin many items; think of precious, mended photos that turn yellow and brittle. If you intend to store rare or valuable fly tying materials, consider using archival boards, tissues, tapes, and bags. Ask for archival storage products at an arts supply store.
Protecting Delicate Feathers
To avoid damaging a valuable or fragile pelt, place it in a slip bag before putting it in a storage bag. A slip bag is merely another resealable bag whose side has been trimmed off. The simple slip bag offers another layer of protection.
Lock Down for a Bug-free World
I keep three big plastic tubs under my tying table. One is my basic kit and traveling tub; I do most of my tying out of it. Next is the quarantine tub; every natural material added to my hoard goes in there first—with no exceptions—and remains there for a month. If no insects are present after that, I store my goodies permanently.
Think of my third tub as a parking garage. I use it to stash materials between tying sessions, and I’m not neat about it. At day’s end, I toss anything on an insect’s menu in that tub and close up shop. The stuff I used last is on top. Neat filing system, huh? Only when it gets out of hand do I put everything away properly.
Never leave any tasty items out on your bench! You might get away with it for quite a while, but slack off and let down your defenses, and you’ll eventually discover that you have company. Or worse, you won’t notice it. And then, one day you’ll tidy up your tying area and put the infested item away with the rest of your materials. It takes only a single tiny dermestid beetle to start a nursery. Do you really want to give it the keys to the candy store?
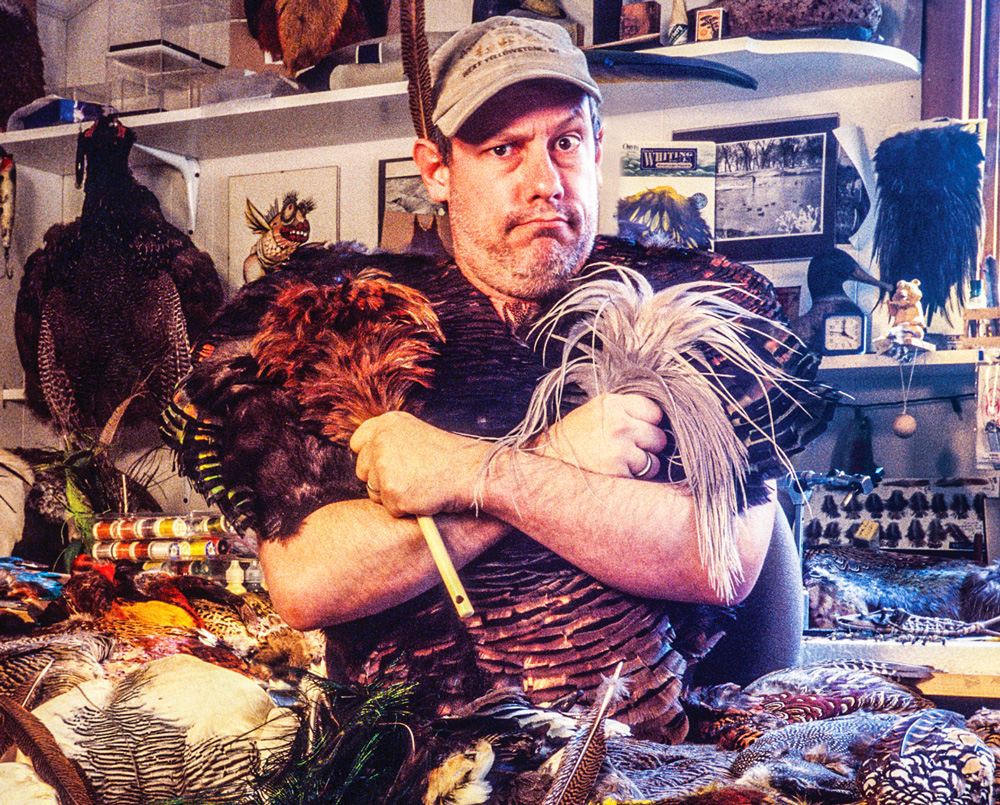
Bill “Bugs” Logan is a fly-pattern designer, exceptional photographer, and fine artist. If you can’t find Bill in his studio in New Jersey, look for him at his cabin in Norway, driving around the United States in search of good fishing, or who knows where. For more information, go to his website, www.billloganart.com.