Improved Wulff Wings
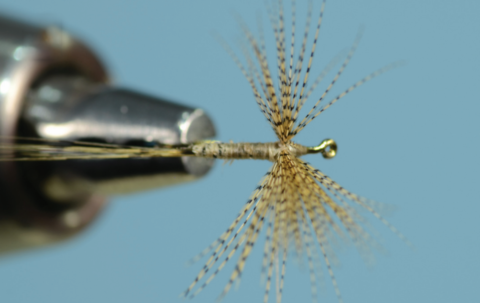
A few years ago, while tying small Royal Wulffs, I was struggling with the usual hair wings. I imagined what one of Lee Wulff’s flies would look like with synthetic wings, and began experimenting with this style of pattern. After a few attempts, I had it: The end result was an upright, divided wing with no hump in the body and a great silhouette. These wings never become waterlogged and remain lightweight, which makes the fly fl oat better and longer. They also stay upright and can be easily adjusted back into shape after catching a fish.
Step 1 – Place the hook in the vise and start the thread. Hold the wing material perpendicular across the top of the hook. Tie the fibers in place using one crossing thread wrap. Lock the wing in place using four tight crossing wraps. Make four tight thread wraps in front of and behind the wing. Next, wrap a tight thread post up the base of each wing.
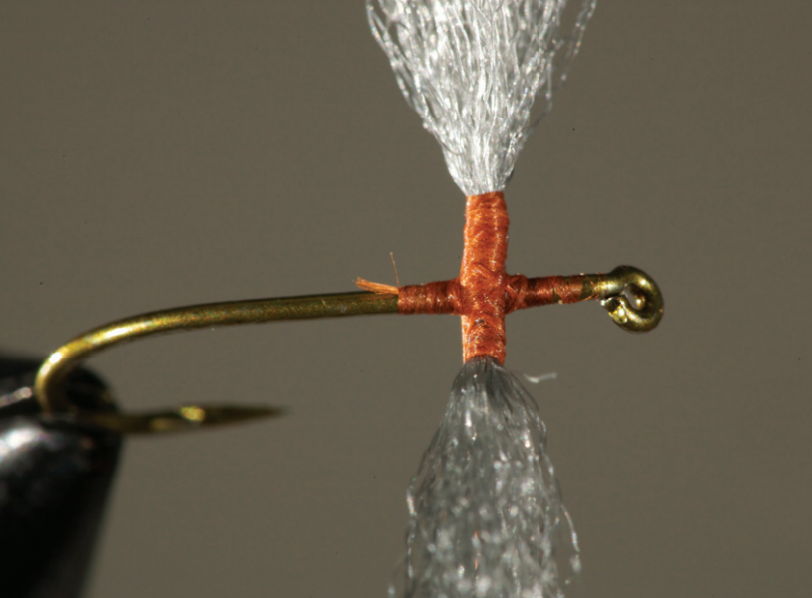
2 – Place your thumb and forefinger under the hook. Pinch the wing posts up and together. Pinch tightly! Next, remove your fingers, and the posts will stay in an upright V position. Adjust the wings as necessary. Use a scissors tip or bodkin to push any wing fibers from between the wings. With the bobbin tip pointing down and the thread starting at the top of a post, make four snug figure-eight wraps between the wings. This maneuver is key to the durability of this wing assembly.