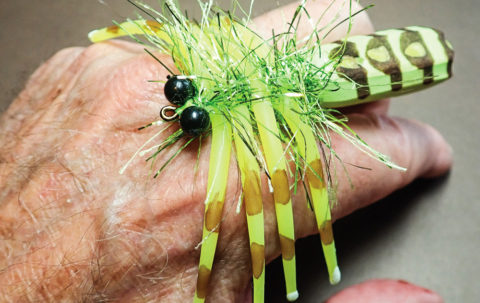
One roll of material makes 7,200 fish-catching flies. Are you up to the challenge?
[by Jay “Fishy” Fullum]
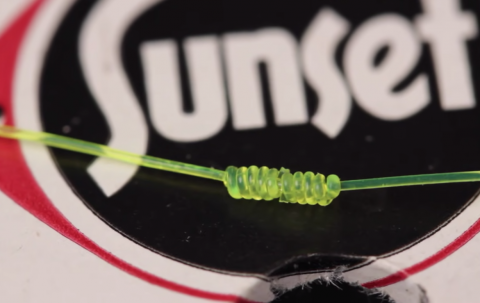
I SOMETIMES USE STRIPS OF FOAM shelf-liner material for tying trout and panfish patterns. Recently, I cut a couple of strips from a roll of this material and attempted to get creative with the stuff. While pulling a short length from the roll, it snapped and I couldn’t believe what I saw: the end of the broken piece looked exactly like the head of an ant with antennae.
It took awhile to work out where to place the thread wraps, but the results were worth the effort. This new Red Ant is a very realistic terrestrial, and it easy to tie.
I occasionally receive emails from tiers requesting information about the odd materials used in this column. For the Red Ant, I use a brand of shelf liner called Easyliner; you’ll find it at Walmart and similar stores. The more open-webbed types of liner will not work. A roll of the Easyliner costs only $4, and according to my math, it will make 7,200 ants! If you can’t find Easyliner, send me a self-addressed stamped envelope, and I’ll return it with a sample that is large enough to tie a couple of dozen ants. You’ll find my address on my website. And if you are able to find a roll of the red Easyliner, share some with your fly-tying friends.
Jay “Fishy” Fullum has been a contributing writer for this magazine for almost 20 years. Fishy lives in New York State. To learn more about his unique patterns, or take him up on his offer for acquiring a piece of the material he uses in this column, go to his website, www.fishyfullum.com.
FISHY’S RED ANT
HOOK: 2X-long dry-fly hook, size 12.
THREAD: Any fine black tying thread.
OVERBODY: 2-millimeter-thick black foam.
UNDERBODY: Red Easyliner shelf liner.
LEGS: Red embroidery floss. Choose a brand that
sparkles; dull-looking floss doesn’t work as well.
EYES: Black paint applied using a toothpick.

1 Cut a strip from along the width edge of the roll of Easyliner; a strip cut lengthwise will not pull apart.
2 Grasp one segment of the strip between your fingers. Pull the strip apart. Separating the strip forms the head and antennae.
3 Cut the 2-millimeter-thick black foam to shape.
4 Wrap the hook shank with thread. Tie the black foam to the end of the hook.
5 Tie the strip of red foam (five segments in length) to the rear of the hook. The last segment is excess; remove it from the fly.
6 Lift the red foam, and wrap the thread part of the way up the hook. Make three or four wraps to form the back section of the ant body.